Installation guides for every release of Condres have been provided below for both beginners and experienced users. These guides may also be used to install Condres as a main operating system, or within a virtual machine environment using Oracle’s Virtualbox.
Rebooting your computer (or starting your virtual machine) after connecting your installation media should be sufficient to start the process. If you find that your computer continues to boot into your existing operating system despite this, then check that:
- The ISO Download and/or installation media has not been corrupted, and that
- Your disc drive or USB flash-drive, depending on which you are using to install, is listed higher up in the boot order than your hard drive, which means that it will be booted from first.
Checking and amending your boot order, if necessary, will require either going into your computer’s BIOS settings, if installing Condres as your main operating system, or into Virtualbox’s System Settings if installing in a virtual machine.
This Beginners’ Guide is suitable for those with limited technical knowledge and experience. In this instance, it will not be necessary to manually partition your computer’s hard disk or to manually edit various configuration files. Provided you know what you are doing or at least confident with the prospect of doing so – it is possible to install Condres OS alongside any other existing operating systems with relative ease.
Where possible, ensure that you are connected to the internet prior to booting from your installation media (e.g. disc, USB flash drive, or even an ISO file directly if booting in Oracle’s Virtualbox). If you have a hard-wired connection via an ethernet cable, then Condres OS will automatically connect to the internet without you having to do anything. Otherwise, once you have booted into Condres OS’s desktop, you will need to select and then connect to your wireless network.
Pre-installation: Setting Your Language and Keyboard Layout

Don’t worry if your preferred language or keyboard layout isn’t listed, as a far wider range of languages can be selected during the installation process itself, if necessary.
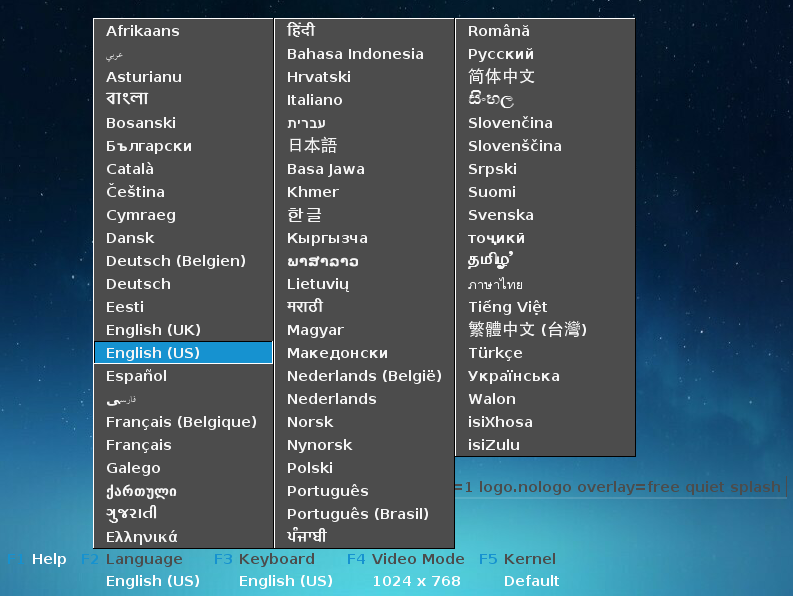
First, set your preferred language by pressing the F2 key. The options available can be highlighted for selection by using the arrow keys on your keyboard. In this instance, English (UK) has been highlighted for the user.
Once selected, press <enter> to confirm and to be taken back to the boot menu.
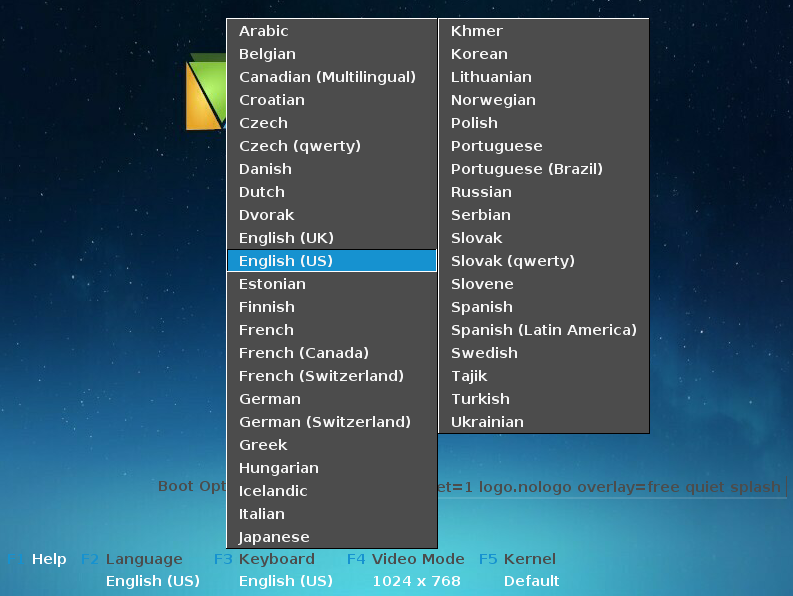
Second, set your preferred keyboard layout (keymap) by pressing the F3 key, selecting keyboard, and then pressing <enter> to bring up the options. Where selecting your preferred language, the appropriate keyboard layout should already be selected. In this instance, English (UK) has been highlighted for the user.
Once selected, press <enter> to confirm and be taken back to the boot menu.
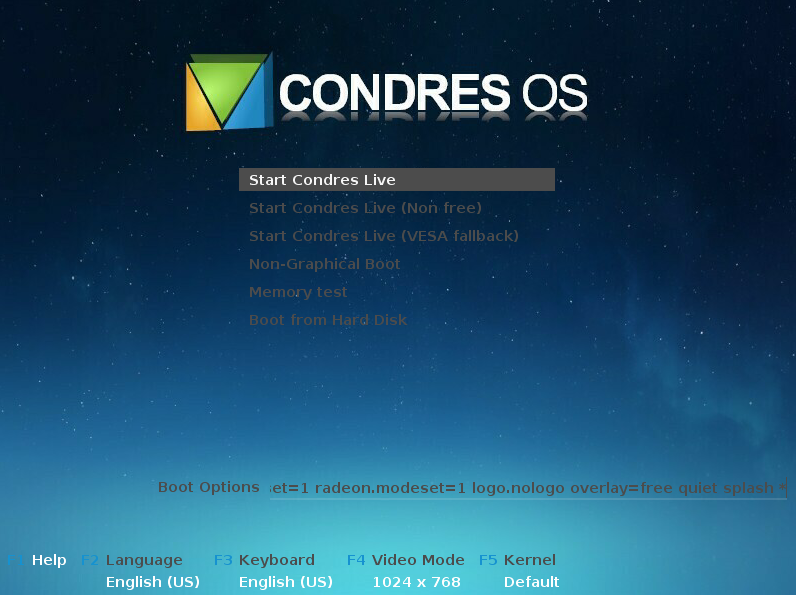
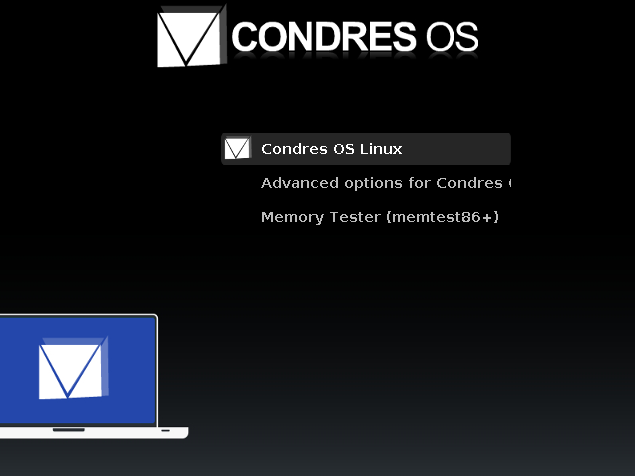
With the initial preparations completed, Condres OS can now be booted to begin the installation process. Two primary options are now available:
- 1. Start Condres OS Linux – boots using free / open-source graphics drivers developed by the Linux community
- 2. Start (non-free drivers) – boots using proprietary graphics drivers (i.e. drivers developed and owned by the manufacturers of graphics cards)
In this instance, Condres OS is being booted using the non-free graphics drivers option. Again, use the arrow keys to highlight your choice, and then press <enter> to continue.
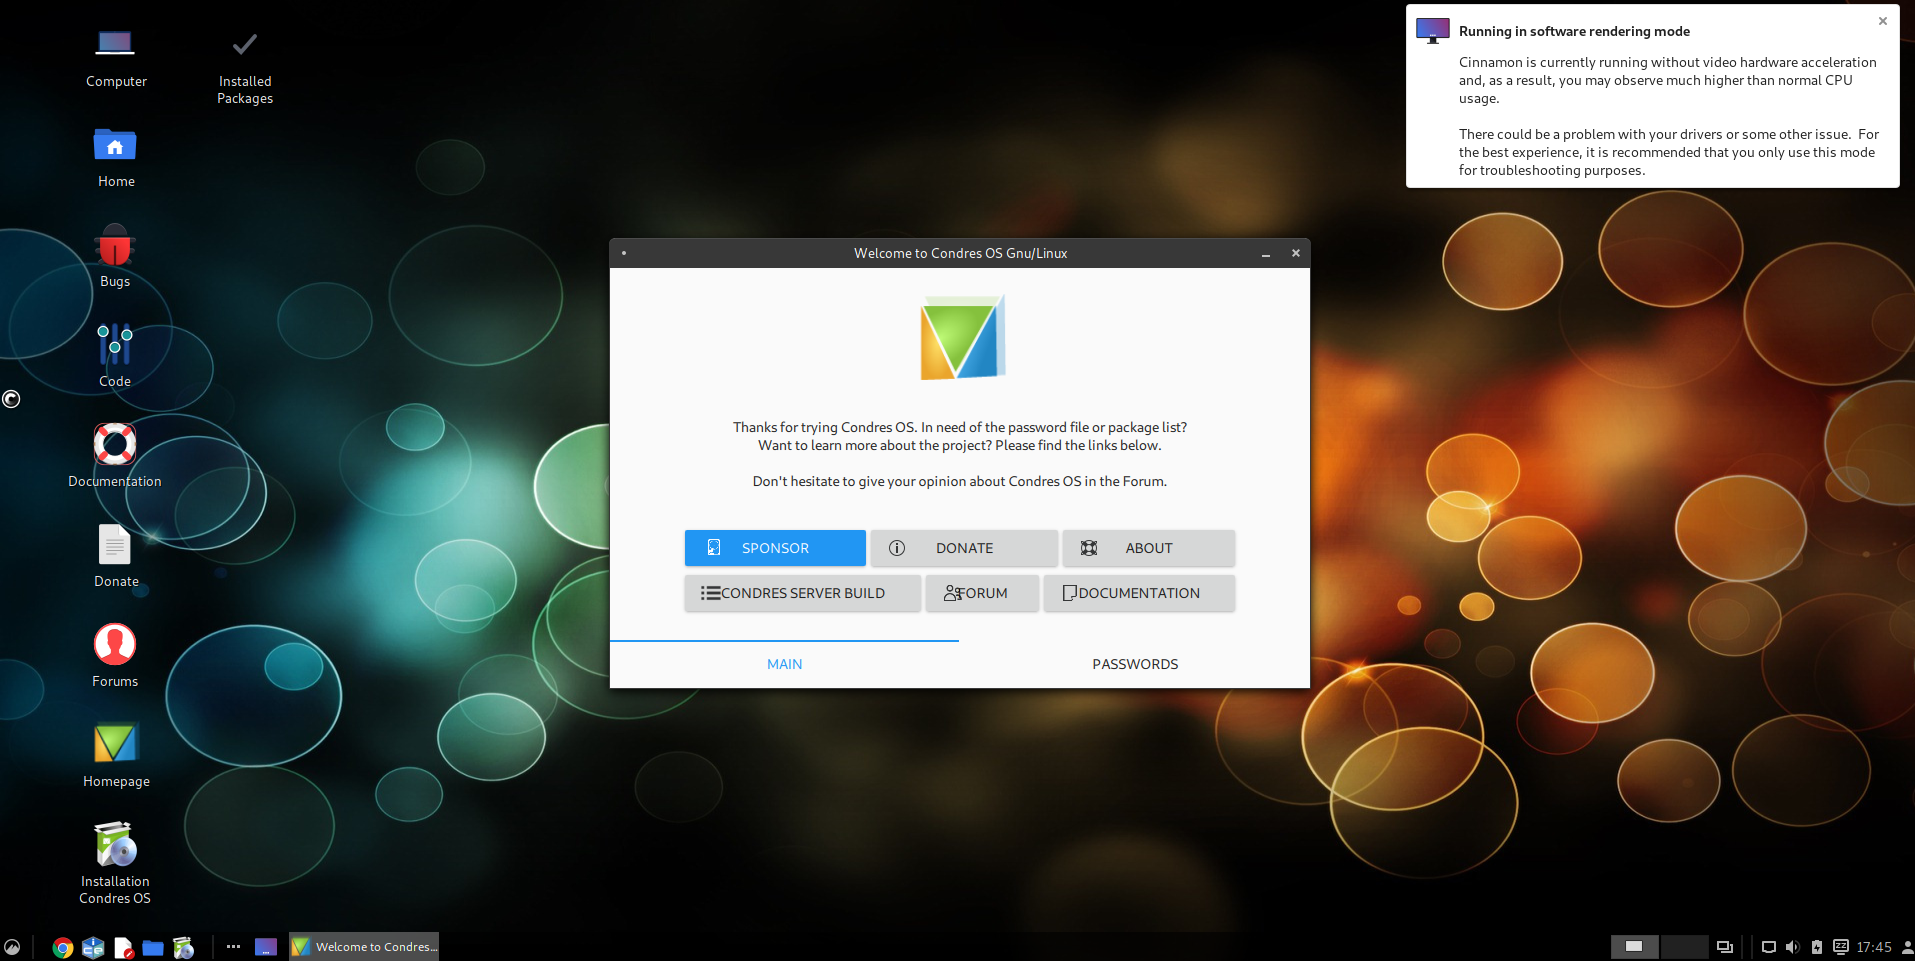
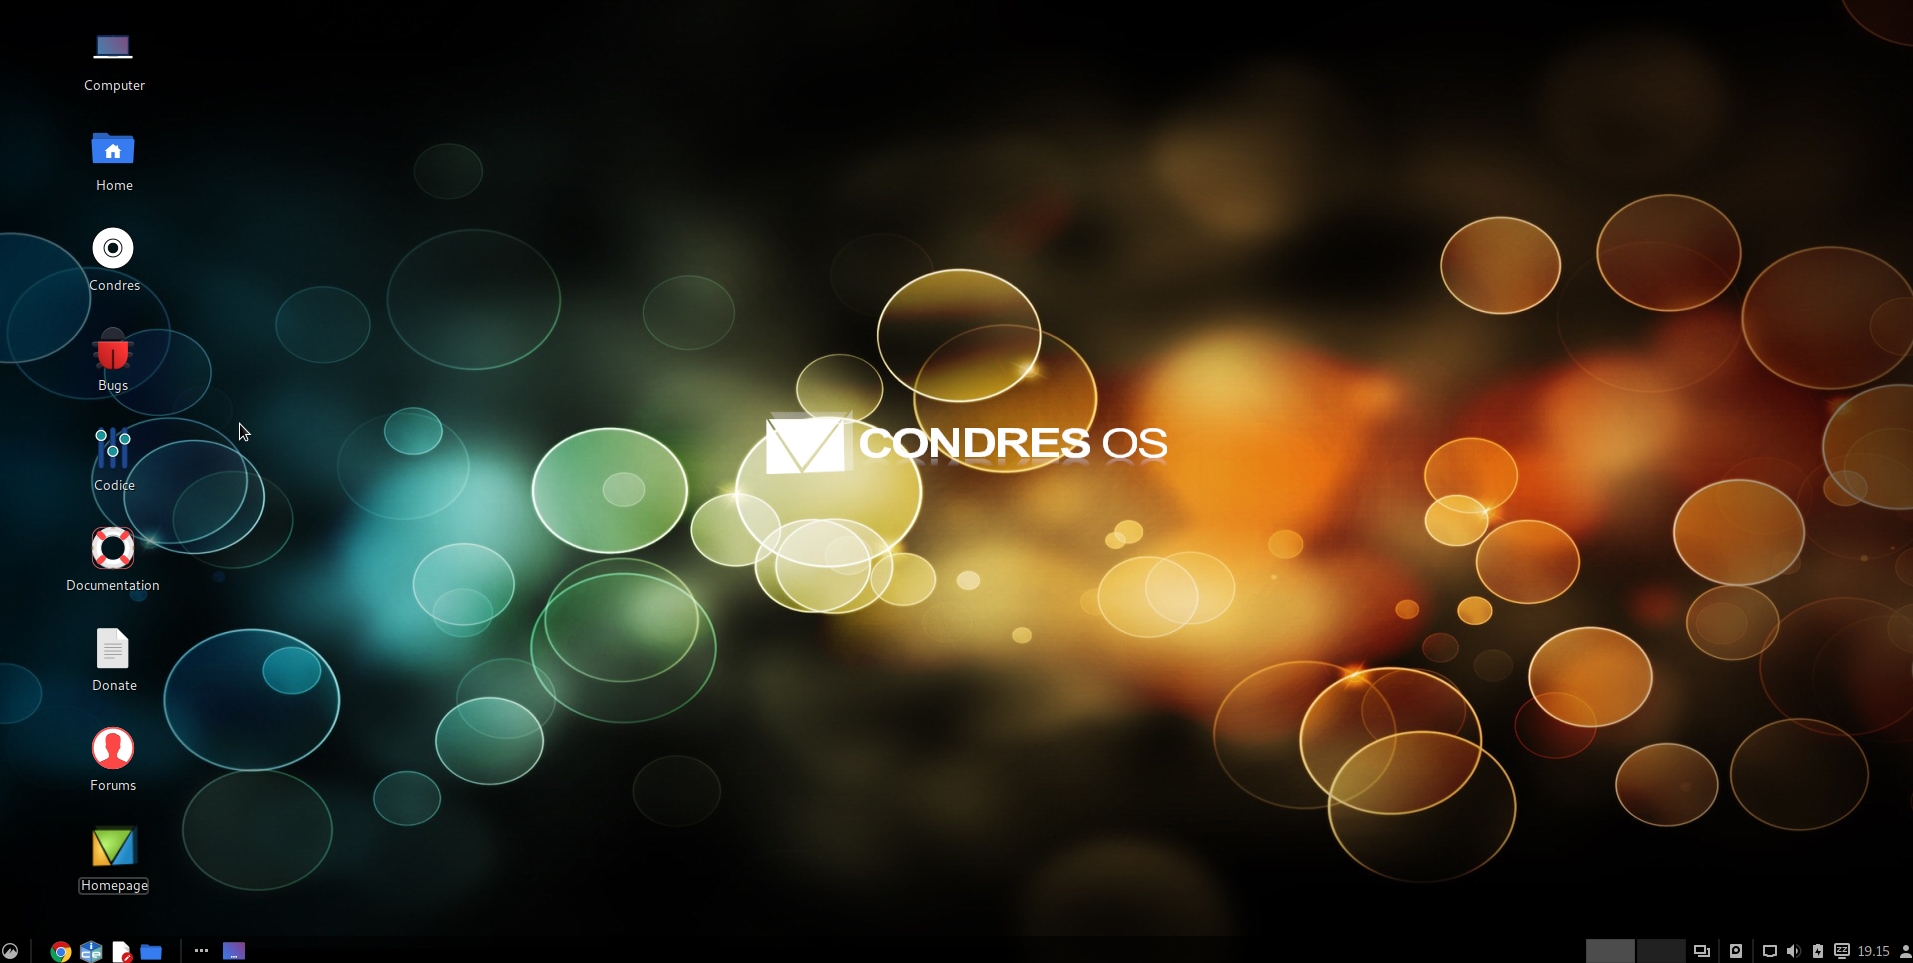
As seen here, Condres OS with the Cinnamon desktop environment is to be installed. However, irrespective of the Condres OS flavour (i.e. desktop environment) you have chosen to install, the installation process itself will still be the same.
To begin the installation process, close the welcome window, and then double-click the “Install Condres OS” icon.
Installation: Set Locale and Keymap
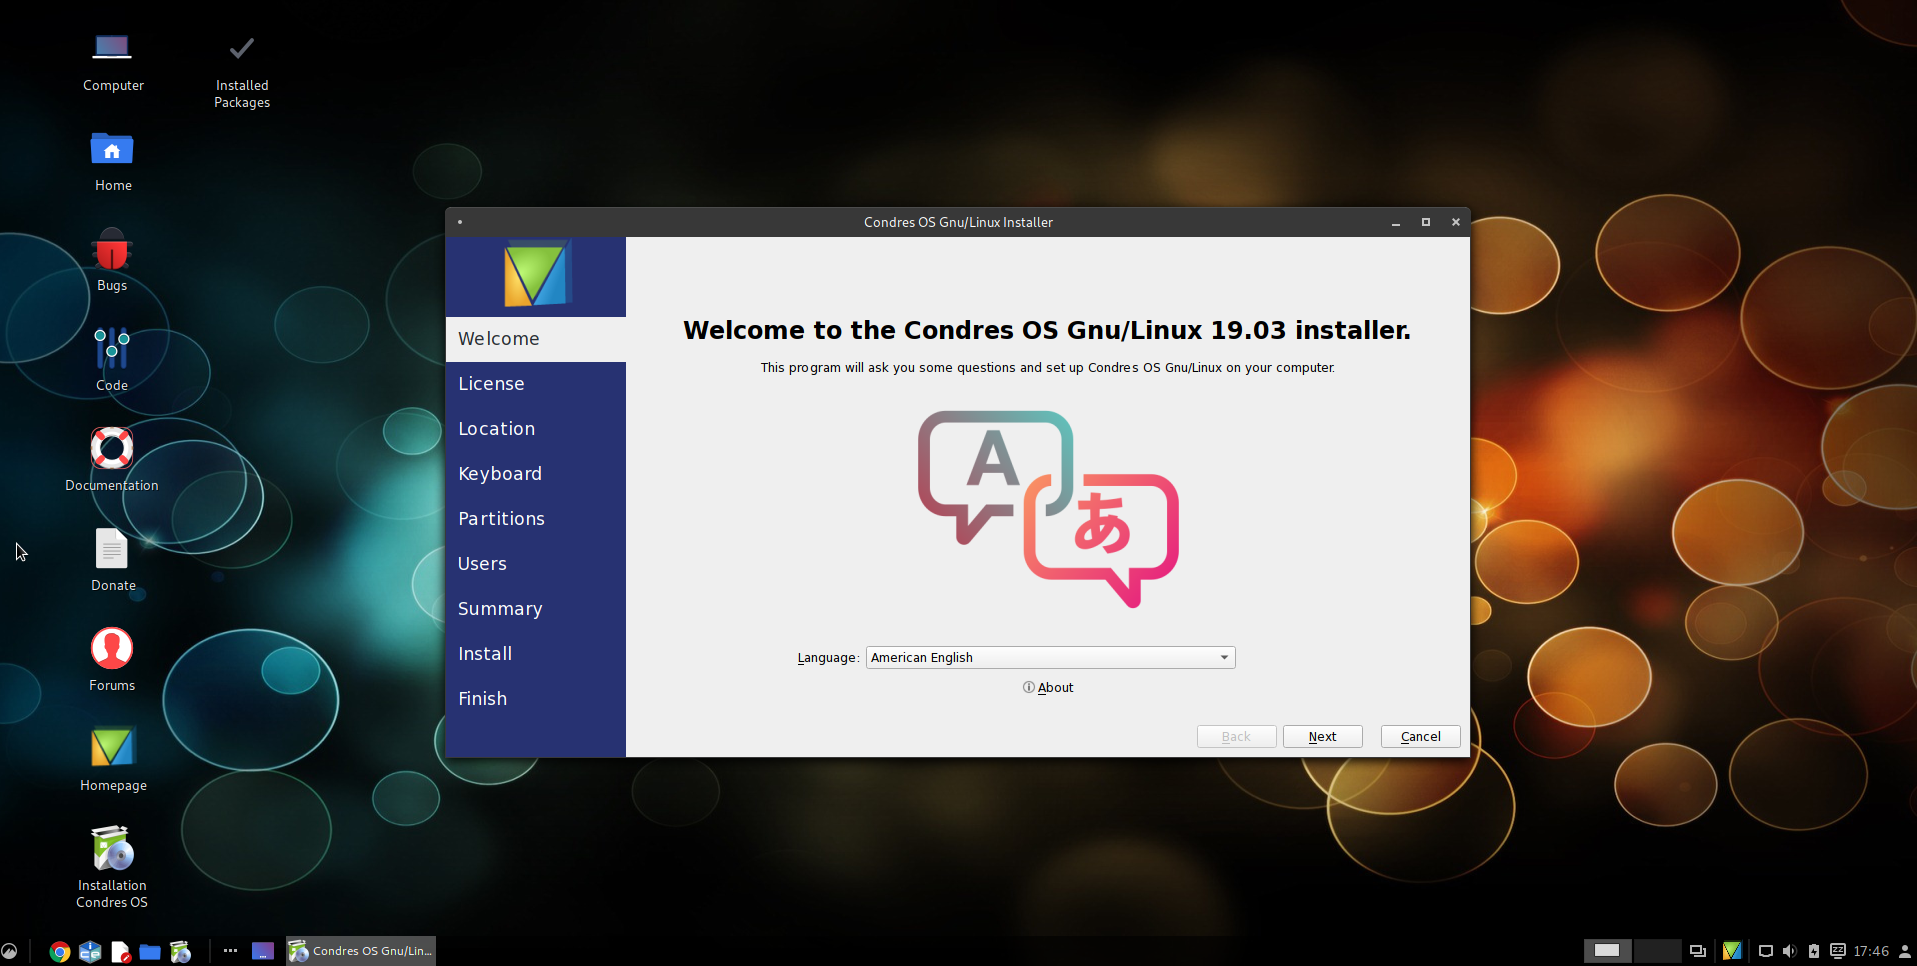
Select your preferred language. If you were able to select this before booting, it should already be selected for you.
Once selected, click Forward to proceed to the next step.
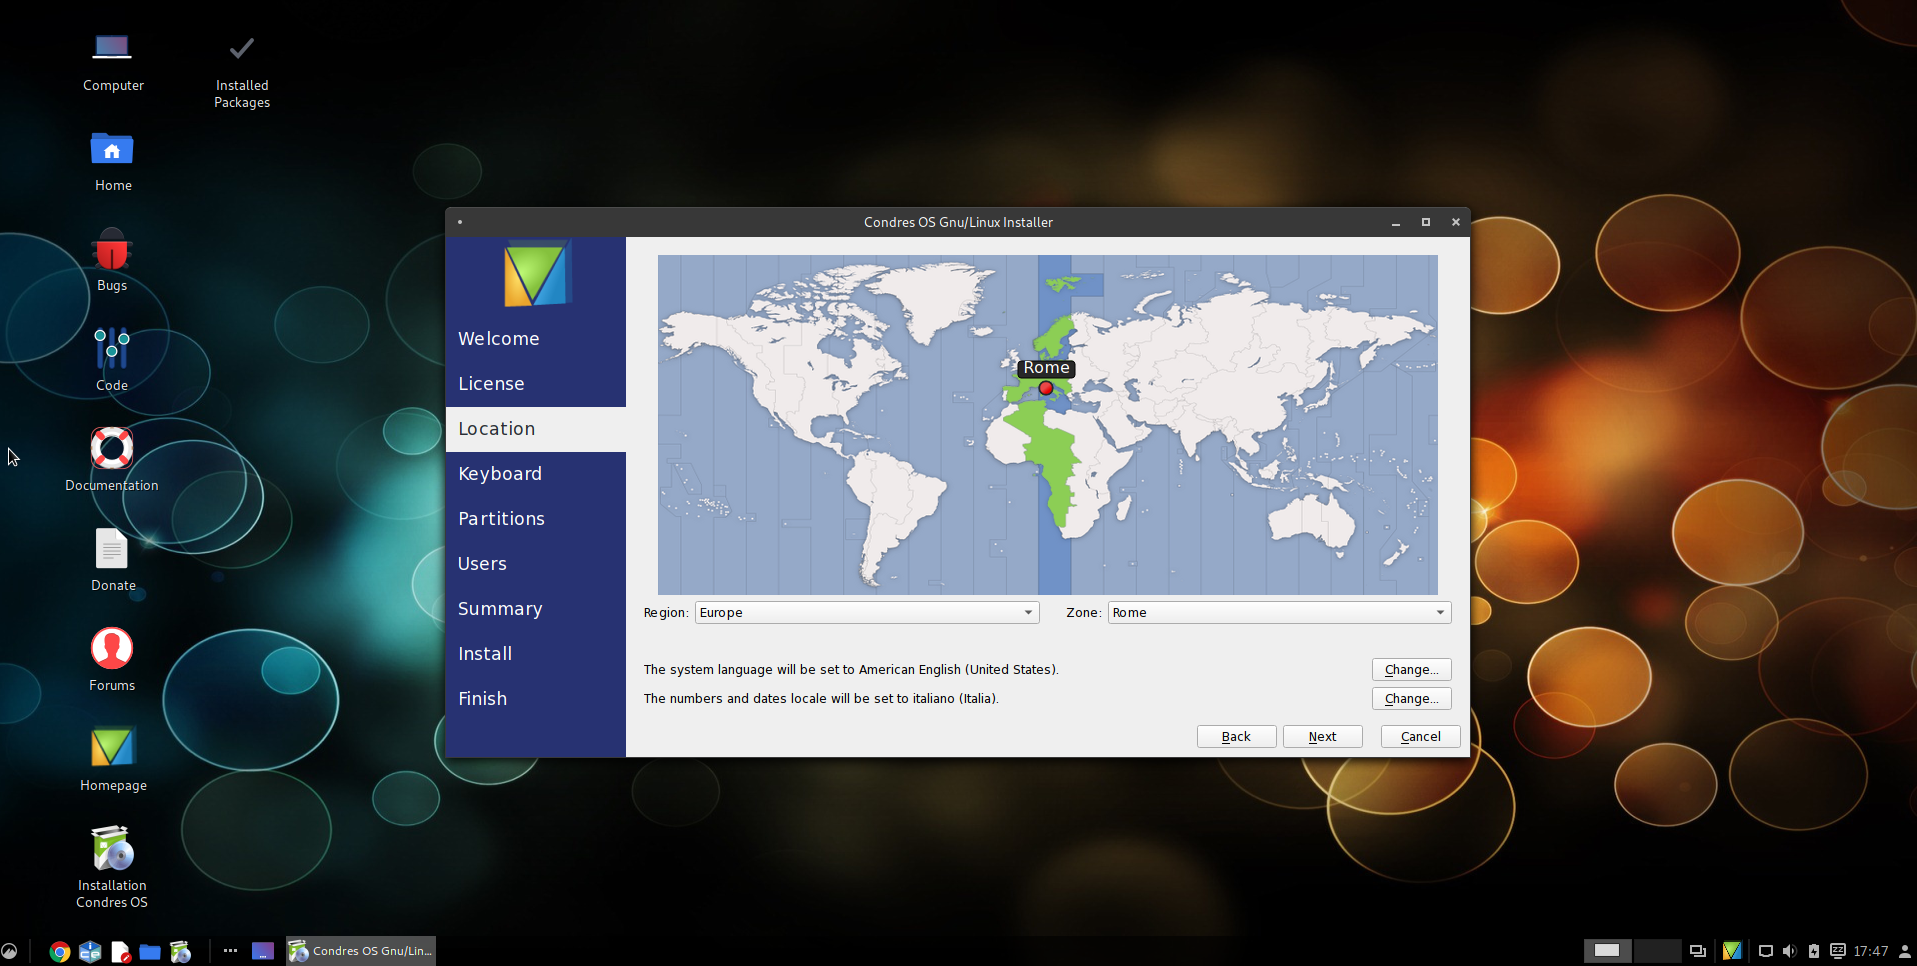
Select your time zone. This will consist of the region you live in, followed by the closest city.
It should already be selected for you. Otherwise, click the bar at the bottom of the screen to chose the appropriate zone.
Once selected, click Forward to proceed to the next step.
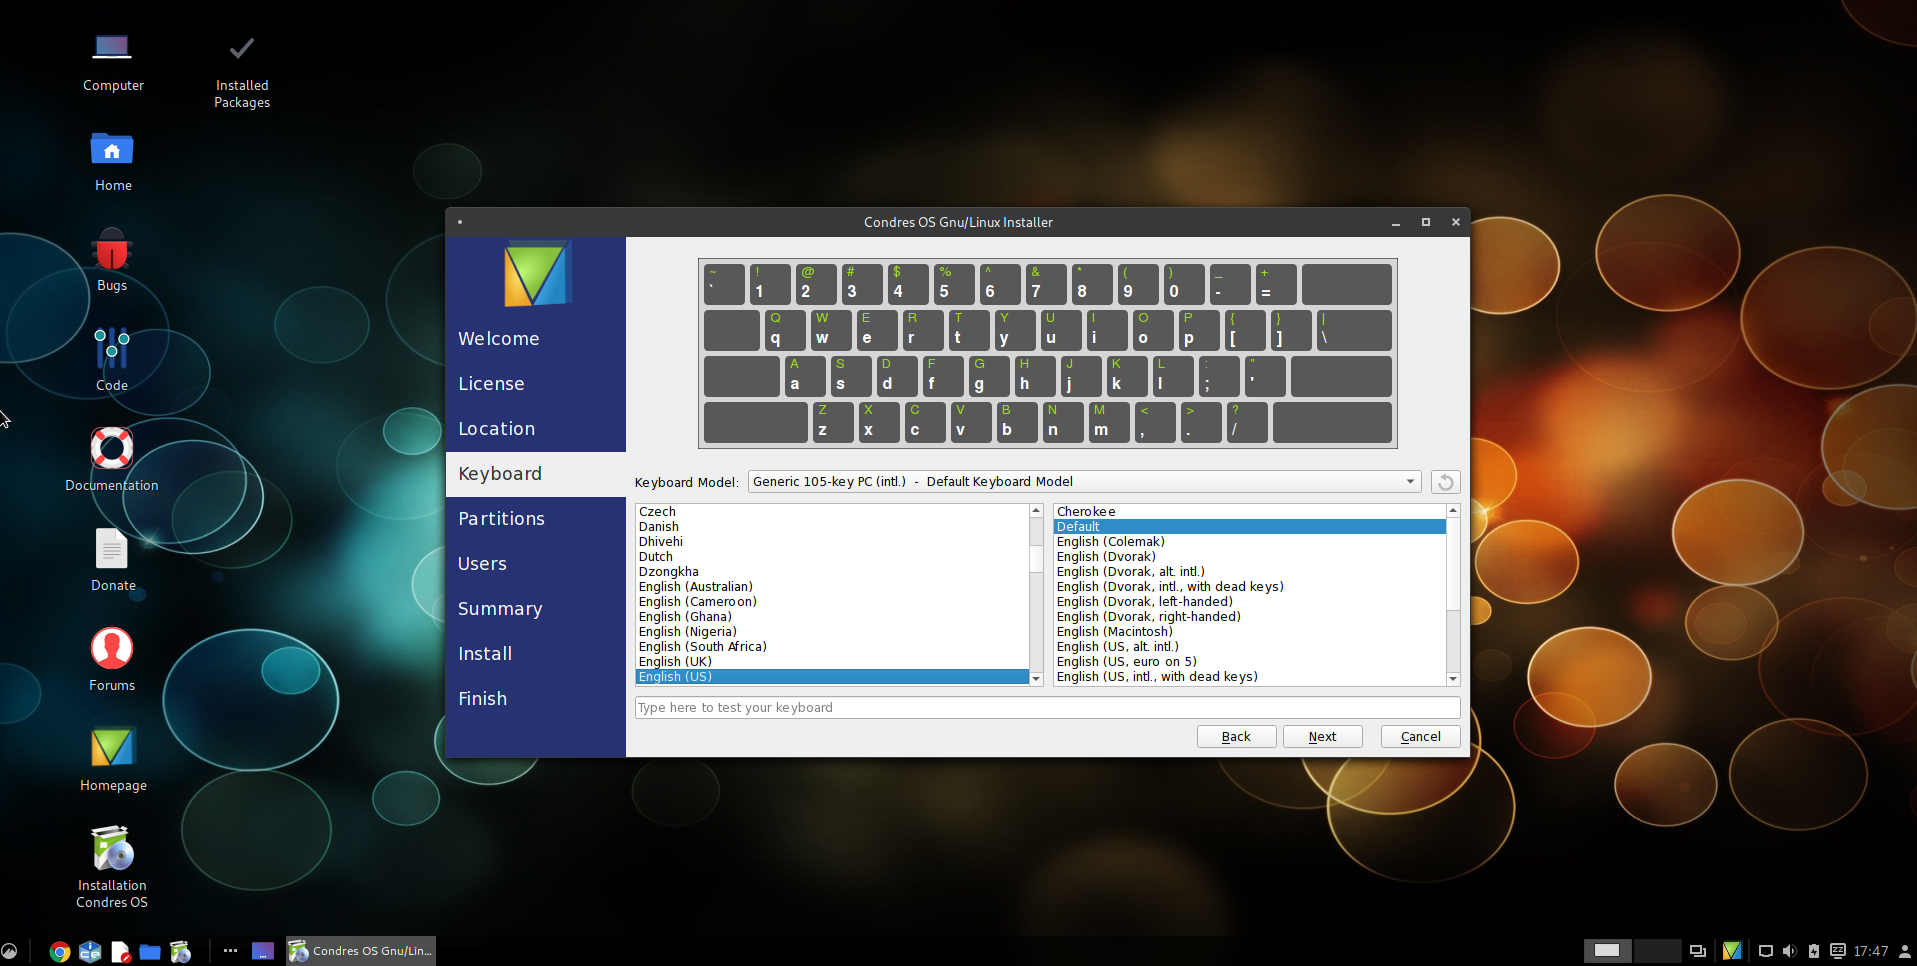
Select your keyboard layout. Again, all the parameters should already be detected and selected for you. Otherwise, you may manually select your keyboard type, layout, and – where applicable – variant of that layout.
Once complete, click Forward to proceed to the next step.
Partitioning
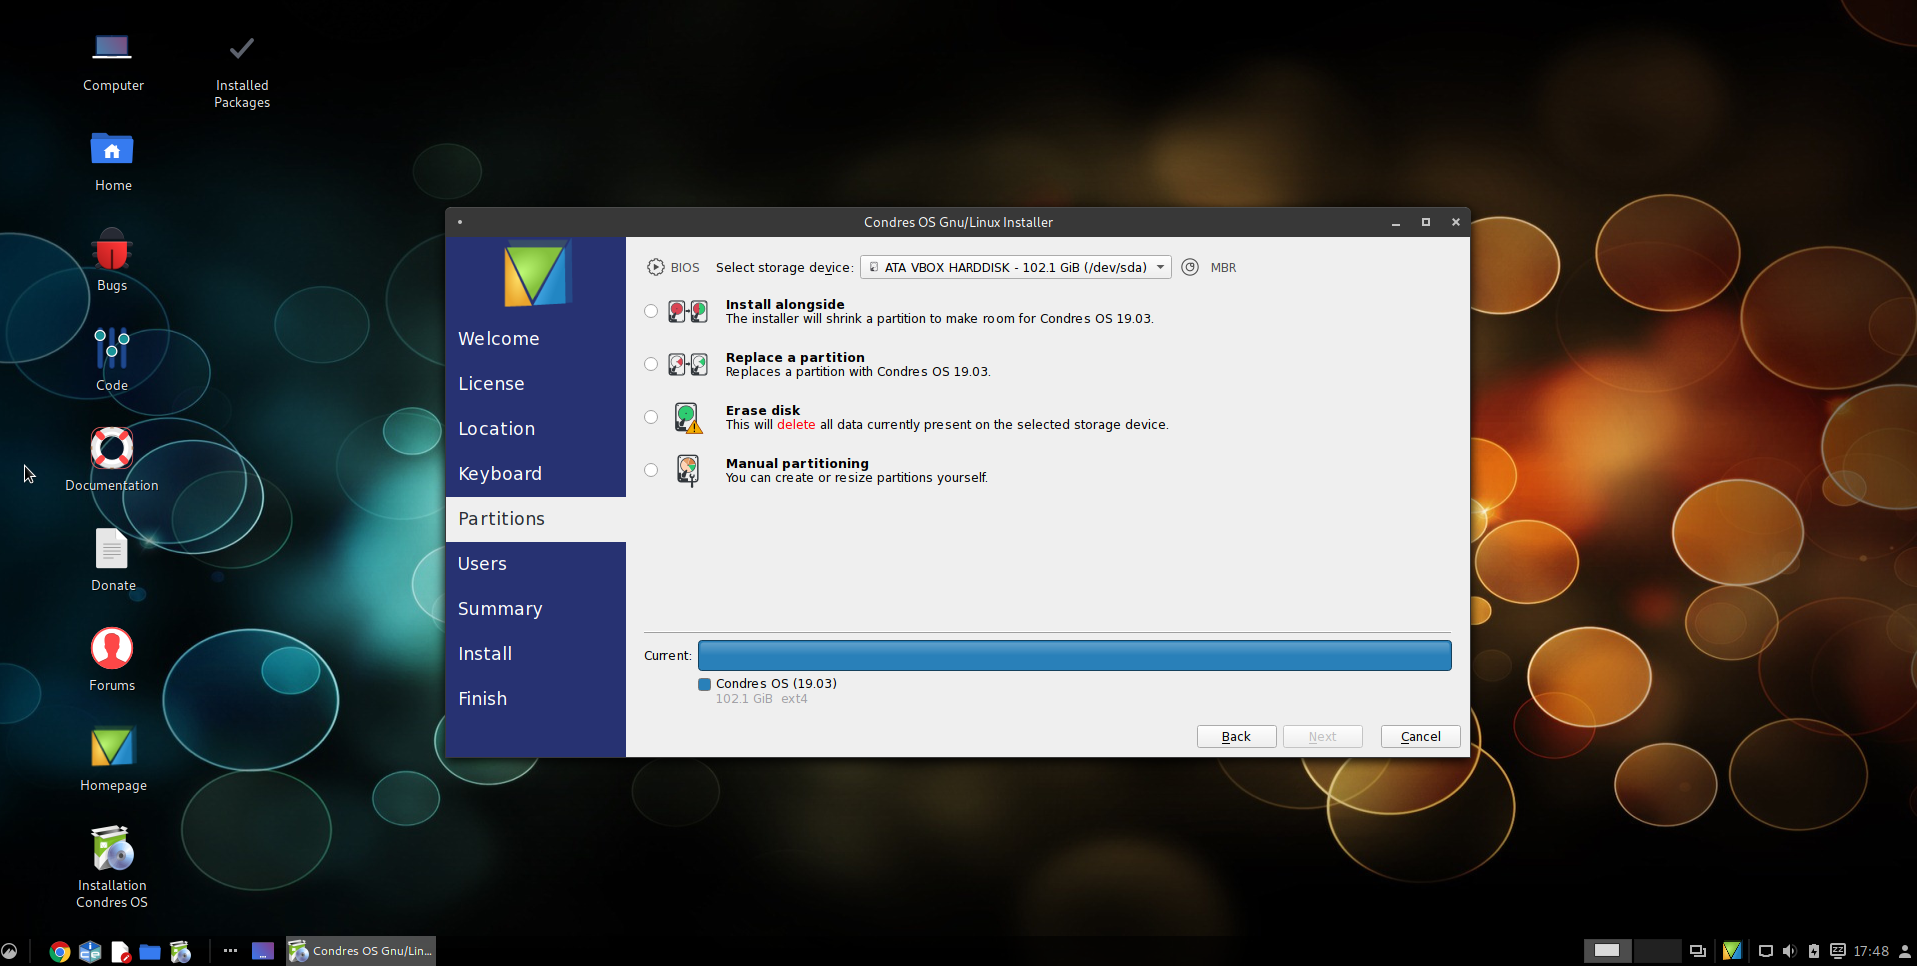
Select the hard disk that you wish to install Condres OS on. Where only one hard disk is present, this will be listed as /dev/sda. A second will be listed as /dev/sdb, and so on.
Once selected, click Forward to proceed to the next step.
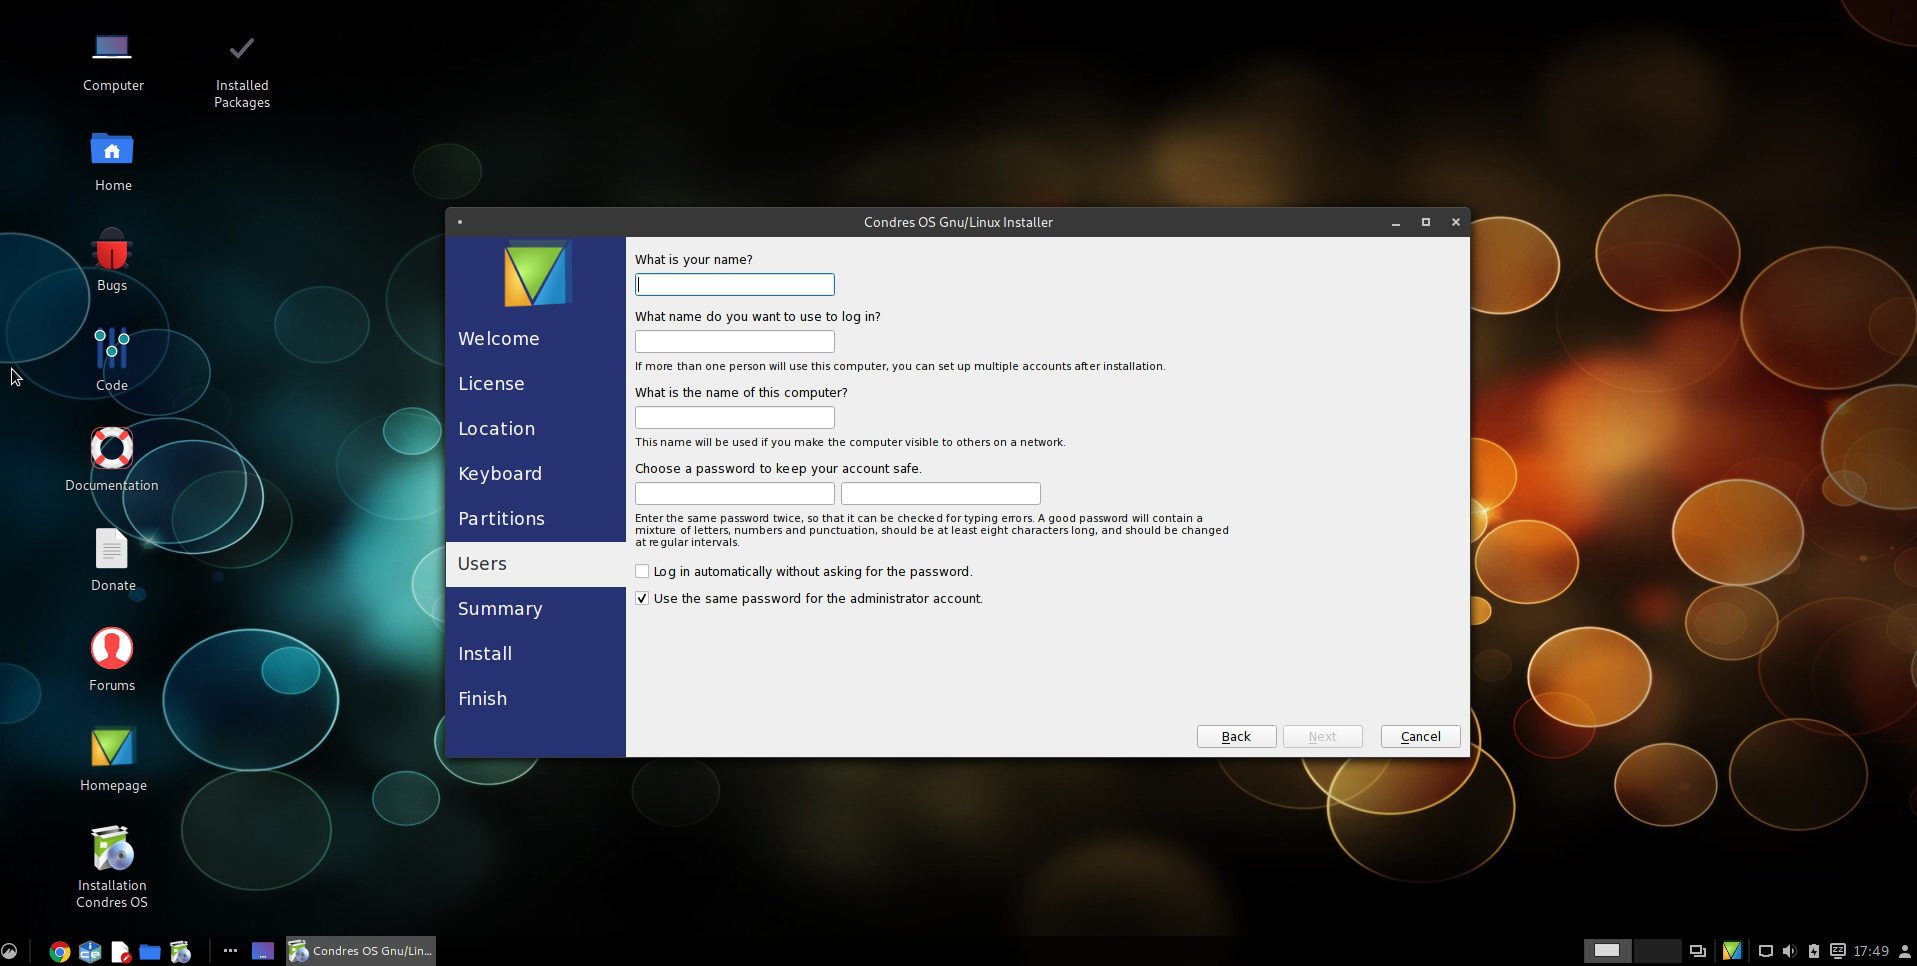
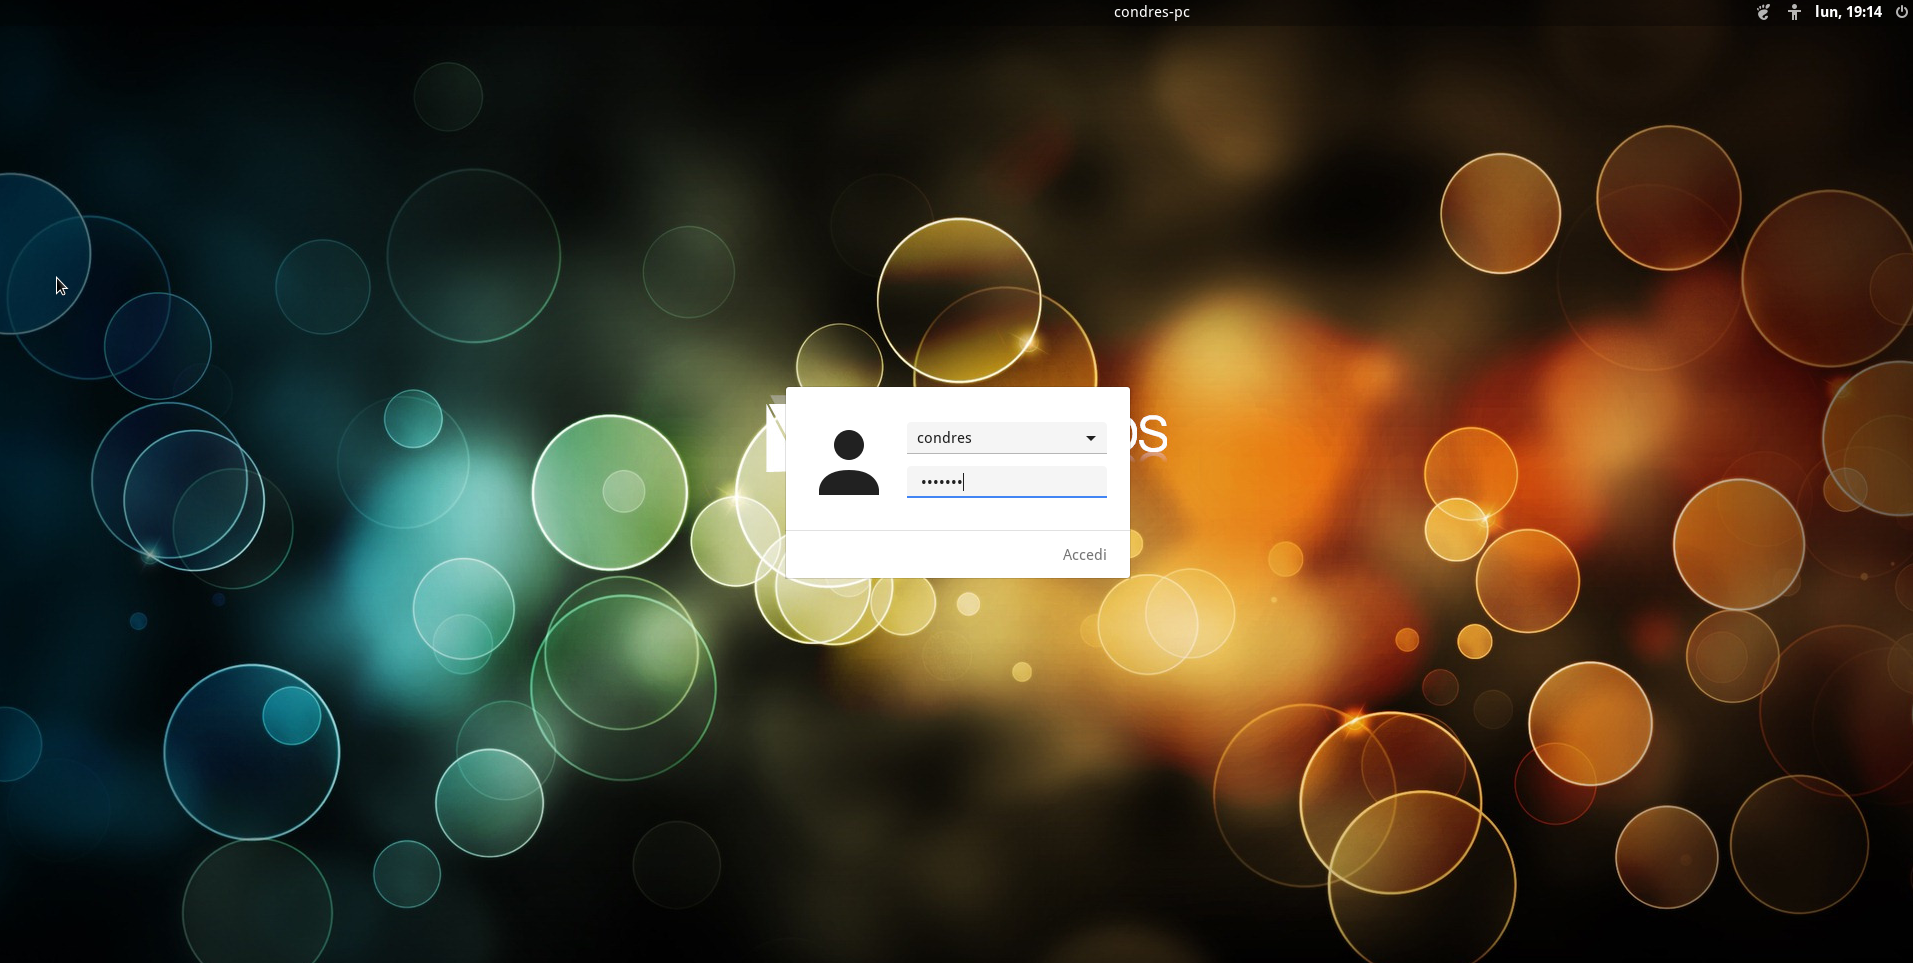
Define you user account details. Here, you may select your profile picture, as well as enter your name, password, and host name. The host name is itself the name of the computer, and you may choose anything you wish. Your account name will be automatically generated based on your real name.
Completing the Process
During the installation process, a number of slides will be shown, outlining the capabilities and features provided by Condres OS. New users in particular may benefit from reading them. The installation process itself may take some time.
Once the installation process has completed, a confirmation message will appear. It will also ask if you wish to restart your computer to begin using your newly installed system. To do so, click Yes. Otherwise, to continue using the Live system, click No.
Congratulations – and welcome to your freshly installed Condres OS system!