Anbox puts the Android operating system into a container, abstracts hardware access and integrates core system services into a GNU/Linux system. Every Android application will be integrated with your operating system like any other native application.
Installation:
sudo pacman -S anbox-git anbox-image anbox-modules-dkms-git
systemctl enable anbox-container-manager.service
systemctl start anbox-container-manager.service
sudo pacman -S snap wget lzip unzip squashfs-tools --noconfirm --needed
sudo systemctl start systemd-resolved.service
sudo systemctl enable systemd-resolved.service
sudo systemctl start systemd-networkd.service
sudo systemctl enable systemd-networkd.service
sudo systemctl start anbox-container-manager.service
sudo systemctl enable anbox-container-manager.service
systemctl --user start anbox-session-manager.service
systemctl --user enable anbox-session-manager.service
sudo sed -i "5s|.*|ExecStart=/usr/bin/anbox session-manager --gles-driver=host|" /usr/lib/systemd/user/anbox-session-manager.service
sudo systemctl daemon-reload
systemctl --user daemon-reload
sudo systemctl --user start anbox-session-manager.service
sudo systemctl --user enable anbox-session-manager.service
$ sudo modprobe ashmem_linux
$ sudo modprobe binder_linux
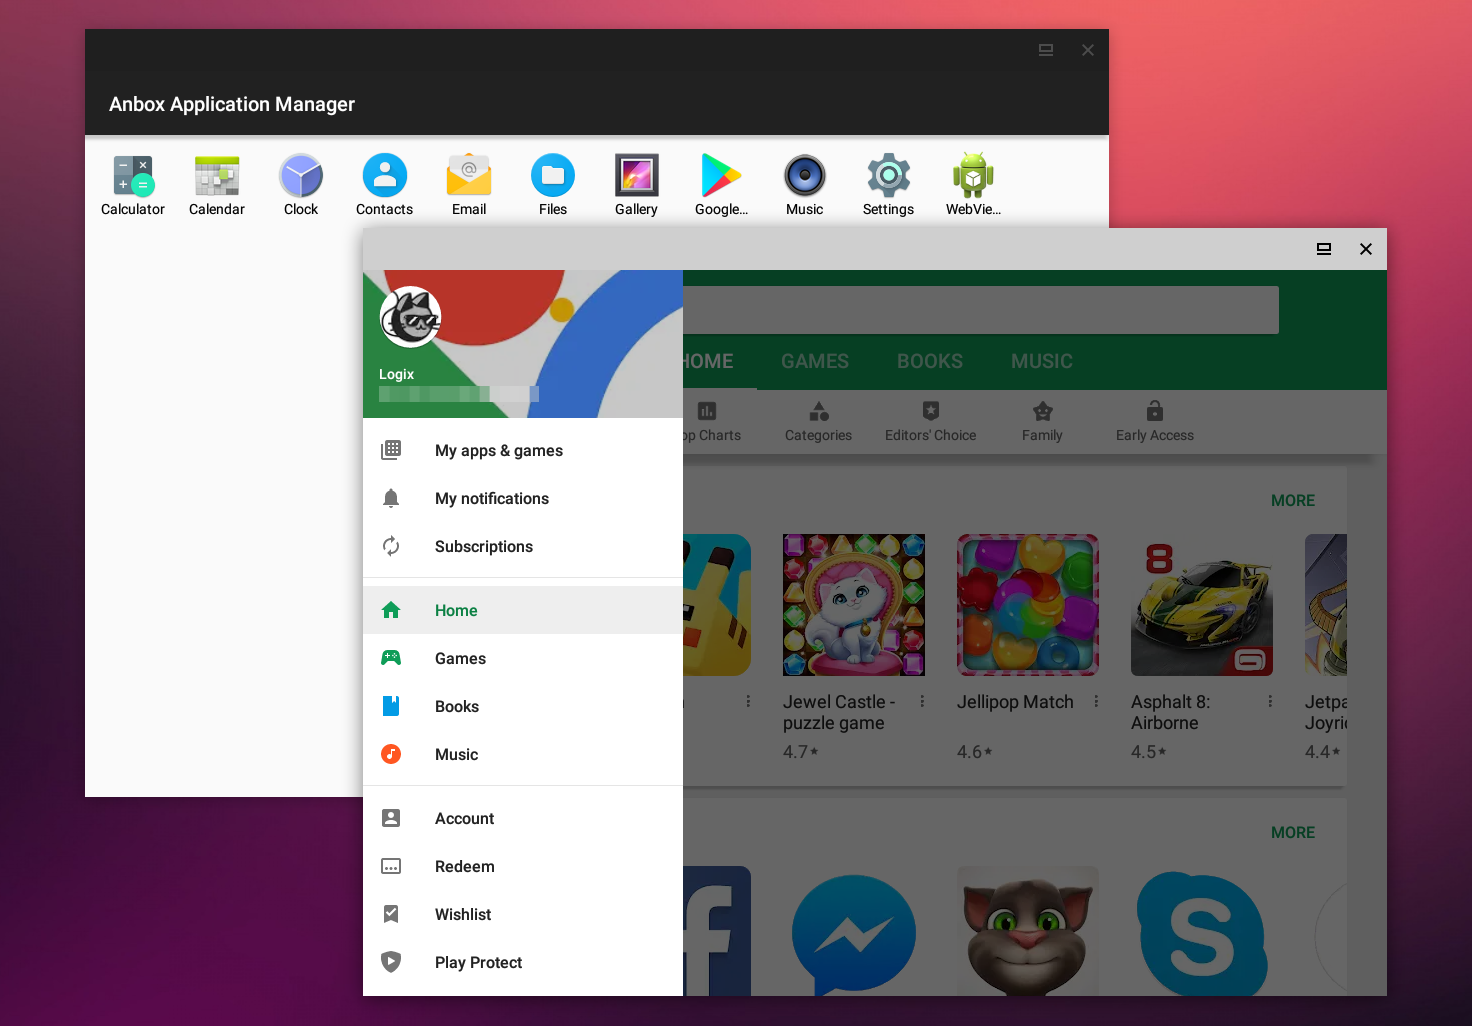
Launch:
anbox session-manager
Screenshoot:
Install packages:
adb install ‘name-of-app.apk’
Remove packages:
Now that you know how to install and run the apps, it’s time to learn how to remove them if they don’t work or if you just aren’t using them.
First, you have to find out the name of your app:
adb shell ‘pm list packages -f’
Once you locate the actually name of the app you are removing, you can easily remove it with the following command in your terminal:
adb uninstall name-of-app
Build Android Image
For Anbox we’re using a minimal customized version of Android but otherwise base all our work of a recent release of the Android Open Source Project.
To rebuild the Android image you need first fetch all relevant sources. This will take quite a huge amount of your disk space (~40GB). AOSP recommends at least 100GB of free disk space. Have a look at their pages too.
In general for building the Anbox Andorid image the instructions found on the pages from the AOSP project apply. We will not describe again here of how to build the Android system in general but only focus on the steps required for Anbox.
Fetch all relevant sources
First setup a new workspace where you will download all sources too.
$ mkdir $HOME/anbox-work
Now initialize the repository by download the manifest and start fetching the sources:
$ cd $HOME/anbox-work
$ repo init -u https://github.com/anbox/platform_manifests.git -b anbox
$ repo sync -j4
This will take quite some time depending on the speed of your internet connection.
Build Android
When all sources are successfully downloaded you can start building Android itself.
Firstly initialize the environment with the envsetup.sh script.
$ . build/envsetup.sh
Then initialize the build using lunch.
$ lunch anbox_x86_64-userdebug
The complete list of supported build targets:
- anbox_x86_64-userdebug
- anbox_armv7a_neon-userdebug
- anbox_arm64-userdebug
Now build everything with
$ make -j8
Once the build is done we need to take the results and create an image file suitable for Anbox.
$ cd $HOME/anbox-work/anbox
$ scripts/create-package.sh \
    $PWD/../out/target/product/x86_64/ramdisk.img \
    $PWD/../out/target/product/x86_64/system.img
This will create an android.img file in the current directory.
With this, you are now able to use your custom image within the Anbox runtime.
Run Anbox with self build android.img
If you have Anbox installed on your system you need to stop it first. If you used the installer script and the snap you can do this via
$ initctl stop anbox
$ sudo systemctl stop anbox.container-manager
It is important that you stop both, the container manager and the session manager.
Once both services are stopped you can start the container manager with your custom android.img file by running
$ datadir=$HOME/anbox-data
$ mkdir -p $datadir/rootfs
$ sudo anbox container-manager \
    --android-image=/path/to/android.img \
    --data-path=$datadir
This will start the container manager and setup the container rootfs inside the specified data path.
$ ls -alh $HOME/anbox-data
total 20K
drwxrwxr-x  5 ubuntu  ubuntu  4,0K Feb 22 08:04 .
drwxrwxr-x 16 ubuntu  ubuntu  4,0K Feb 22 08:04 ..
drwxr-xr-x  2 100000  100000 4,0K Feb 22 08:04 cache
drwxr-xr-x  2 100000  100000 4,0K Feb 22 08:04 data
drwxr-xr-x  2 root    root   4,0K Feb 22 08:04 rootfs
NOTE: If you look into the $HOME/anbox-data/rootfs directory you won’t see anything as the container manager spawns up a private mount namespace which prevents anything from the outside to see its mount points.
The cache and data directories are bind-mounted into the rootfs at rootfs/data and rootfs/cache.